Key management is the most important aspect of your crypto journey. Whoever controls your keys controls the assets. There are a variety of options for key management, including online services, smartphone apps or hardware devices.
Each of these options has its pros and cons. Some are complicated to setup, while others leave your private keys in the hands of a service provider.
We recommend a hardware wallet to access the full potential of crypto assets and limiting the exposure of your private keys to others.
This tutorial explains how to set up the hardware wallet Ledger Nano S with VirtualBox running Ubuntu 20.04.
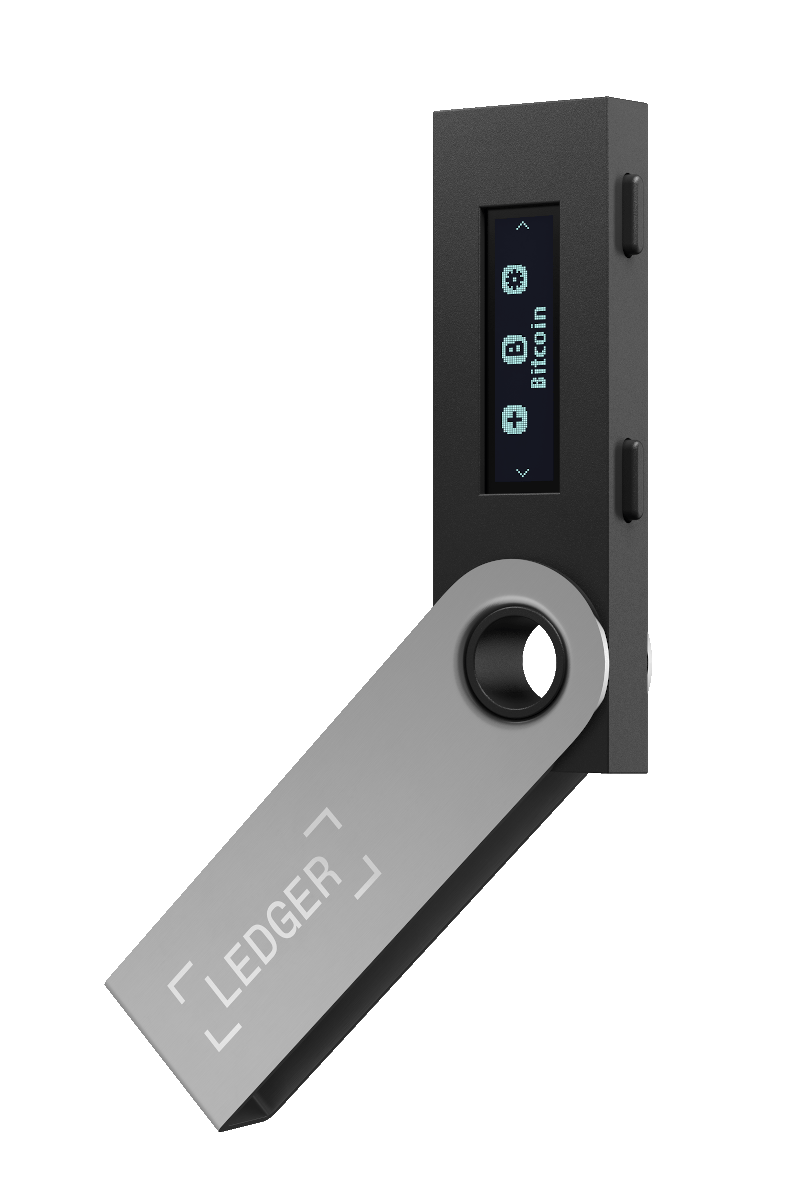
Ledger Nano S
Buy The Hardware Wallet
The Ledger Nano S (or any other hardware wallet) should not be purchased from Amazon, eBay, or other online sellers. There is a risk of receiving a tampered or used device that may result in the loss of your crypto assets.
Better purchase a legitimate, unopened, and brand new device from the Official Ledger Website.
Ledger Nano S - Initial SetUp
With the included USB cable, connect the Ledger device to your computer and watch it come to life. Navigate with the two buttons on the top of the device and follow the on-screen instructions. Press both buttons simultaneously to accept.
Choosing your device’s PIN code is the first step in the setup process. We recommend to use a 6-digit code. The next step is the documentation of the recovery phrase. The 24 random words will appear one by one on the device’s screen.
This is the only backup of the private keys and the words will only be displayed once. Write them down on the provided paper recovery sheet or use an even more secure steel recovery sheet.
VirtualBox And Guest System Installation
The virtualization software VirtualBox is open source and can be downloaded here. We also require the ISO image for Ubuntu 20.04. The “Desktop image” is sufficient for our purpose.
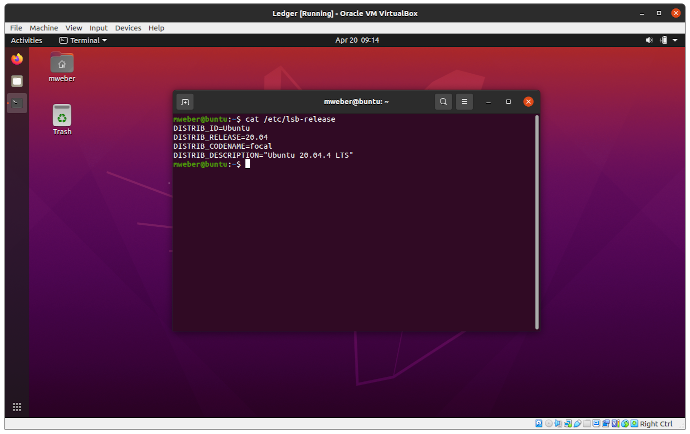
Ubuntu 20.04 in VirtualBox
A thorough step-by-step guide for the installation of virtual machines on VirtualBox can be found on the linuxhint blog.
Setup the udev devices on host and guest
Next, we need to setup the Linux sub-sytem for dynamic device detection and management aka udev. It creates or removes device nodes dynamically.
The following command will execute the configuration of Ledger devices and has to be executed on both, the host and the guest system.
wget -q -O - https://raw.githubusercontent.com/LedgerHQ/udev-rules/master/add_udev_rules.sh | sudo bash
After the installation of the rules, you must either restart the computer or reload the udev ruleset with:
sudo udevadm control --reload-rules && udevadm trigger
Now connect the Ledger device to the host computer and execute the lsusb command. The device should show up in the list of devices.
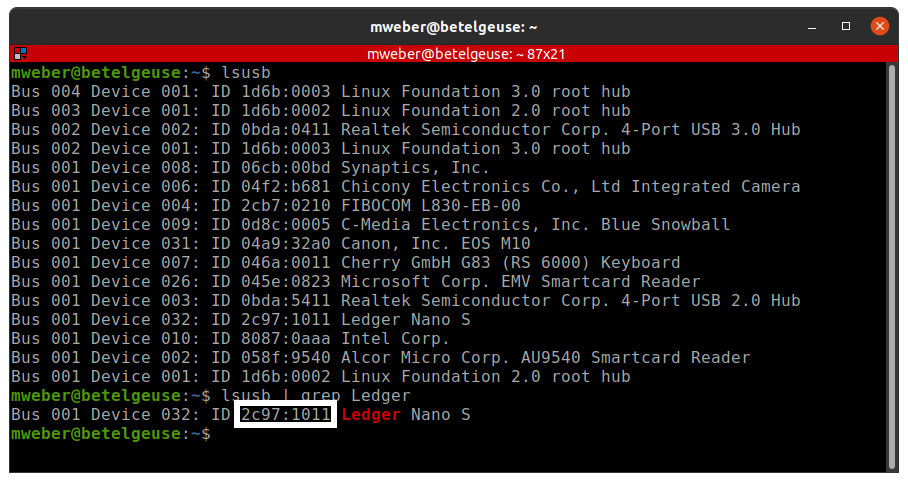
Output of the lsusb command
Take note of the device ID <VendorID>:<ProductID>.
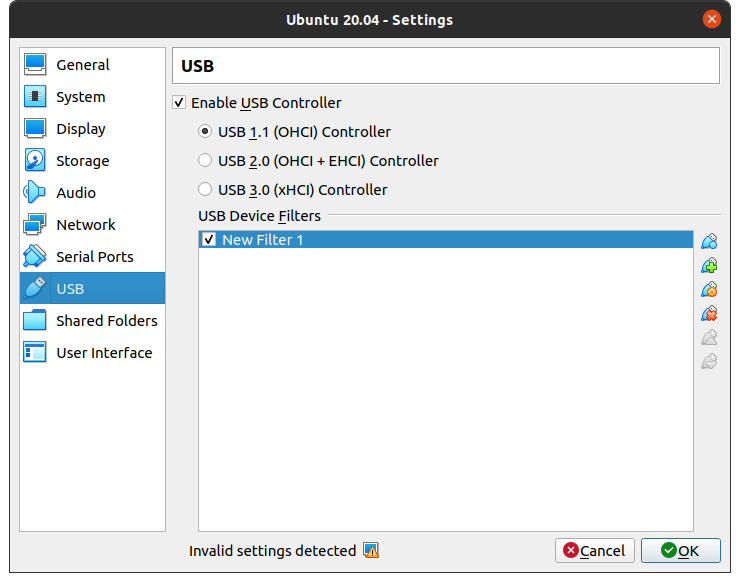
Configure the USB device in the VirtualBox guest
Now that the USB device is available on the host system, we need to map it to the guest system. In VirtualBox go to Machine > Settings > USB and add an empty Filter.
Create an empty USB Filter
Update the entry with the exact data we received from the output of the lsusb command. The Vendor ID is 2c97 and the Product ID is 1011. The Vendor ID is a fixed value while the Product ID can vary. So make sure you use the correct one for your device.
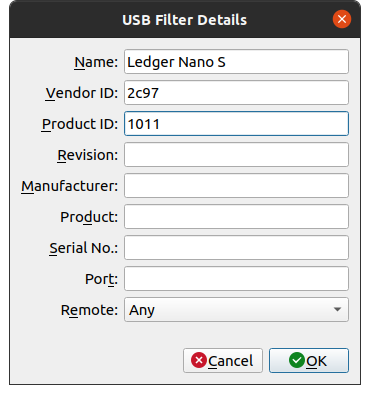
Configure the Filter
You are now ready to start the VirtualBox Guest system and check for the availability of the USB device with the lsusb command.
Install the Ledger Live Software on the guest
With the device available on the guest system we can now install the ledger-live software. Download the image from the official website.
Make the file executable by issuing the following command in the terminal:
chmod +x ledger-live-*.AppImage
Launch the application with the following command from the terminal:
./ledger-live-desktop-*.AppImage
The software will detect your USB hardware wallet and you can now install the desired accounts for the cryptocurrencies you’d like to secure with the wallet.
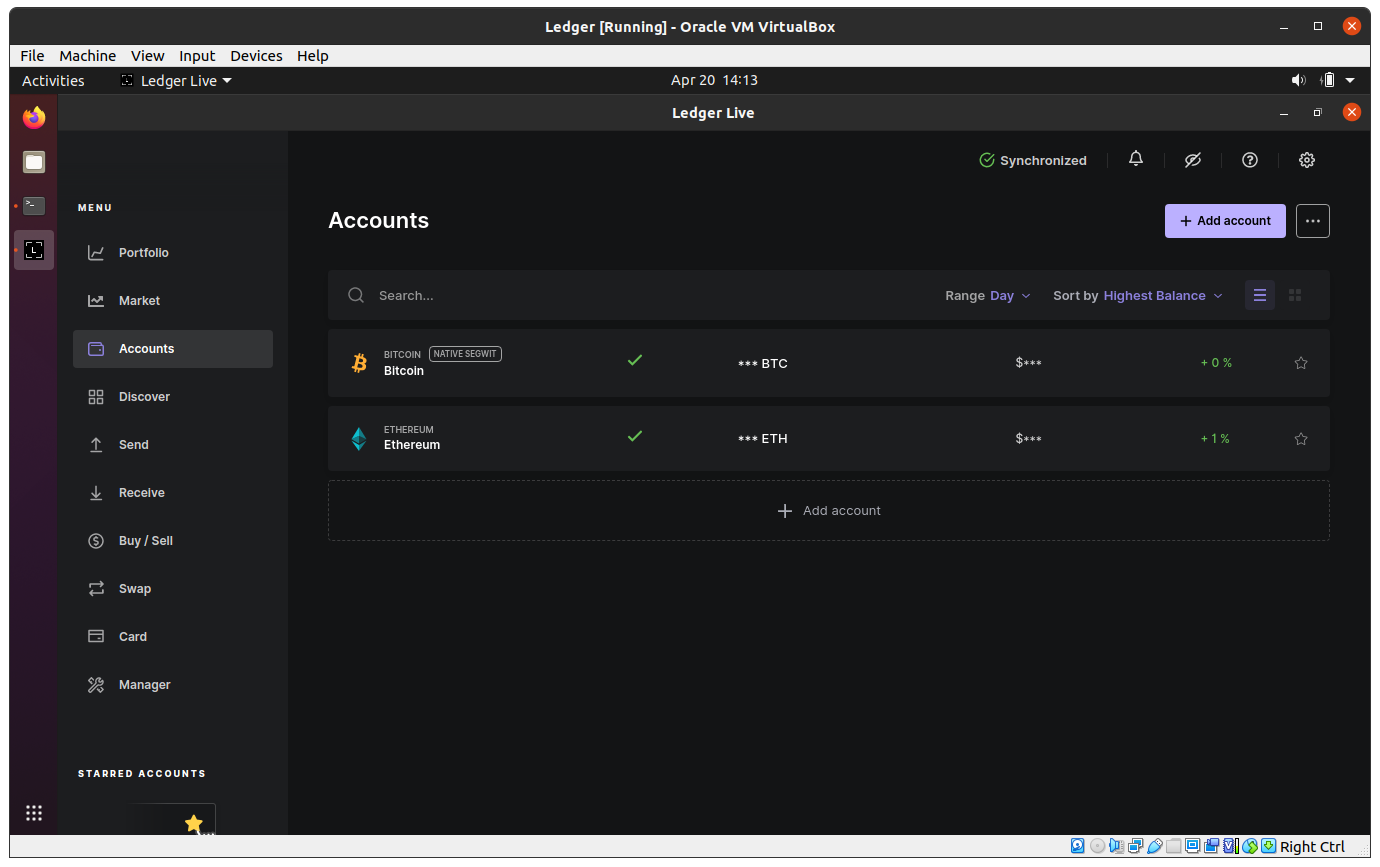
Ledger Software in a VirtualBox
Congratulations, you are now ready to receive and send crypto assets with your hardware wallet. Please make sure you always confirm the wallet address displayed on your device.
Troubleshooting
No USB Device found in the VirtualBox Software
Make sure you have the VirtualBox Extension Pack installed.
Wallet not detected by Ledger Software when installing Accounts
This happened to me when I added the Ethereum account on the wallet. The Bitcoin account worked without an issue.
It turns out that the Ledger S changes the Device ID for some accounts. I noticed this by monitoring the lsusb output on the host system.
Just add a second Filter in VirtualBox for the other Device ID. My wallet has Device ID 1011 for Bitcoin and 1015 for Ethereum.
Recap
Digital crypto assets enable us to have independent ownership without the involvement of any third party. Having assets sitting in an exchange broker or with a wallet service provider puts us at the mercy of said companies’ resilience to outside interference.
Owning the private key is vital to unleashing the full potential of self-custody. By using a hardware wallet we exercise self-custody. We are responsible for the safety of our keys and in exchange for this effort, we prevent any state, bank, or hacker to take our assets.